Viewing Your Data
After the aircraft lands, it will transfer the low resolution "Quick-Look" to the tablet.
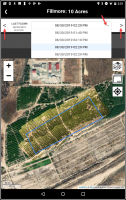
Wait for the Quick-Look bar to turn blue, and then tap SEE QUICK LOOK to view the low resolution true color and NDVI imagery.
Please wait until the Quick-Look has finished transferring to the tablet before powering off the Quantix aircraft.
You will know this when the Quick-Look bar says "SEE QUICK LOOK".
Use the date menu or arrows on either side of the Quick-Look date menu to navigate through all of the Quick-Looks stored on the tablet for the Collection Area.
Push in to release the SD Card from the aircraft SD slot.
- Ensure that the Lock switch on the SD card is slid up in the unlocked position.
- Insert the SD card into the tablet.
- On the Quick-Look display, there is an SD card icon that will be white, yellow, or red.
 White SD Card. This indicates that the SD card inserted into the tablet contains flight images for the currently-viewed Quick-Look.
 - This is the color that the icon should be in order for the high resolution images to display. This color means that the SD card is recognized by the app.
 Yellow SD Card. This indicates that the SD card inserted into the tablet contains flight images, but not for the currently-viewed Quick-Look.
 Red SD Card. This indicates that there is NO SD card inserted into the tablet, OR the inserted SD card contains no flight images.
It may take up to 30 seconds for the SD card to be recognized by the app, depending on the number of images in the collection, and the number of flights on the SD card.
 What to do if the SD card icon remains red, even though it contains the correct flight images for the current Quick-Look.
Take one of the following corrective actions, beginning with the first, and moving down the list until the issue resolves and the icon displays correctly.
- Remove the SD card and double-check that the Lock switch on the SD card is slid up in the unlocked position.
- Restart the Quantix™ App.
- Restart the tablet (only do this if restarting the app does not work).
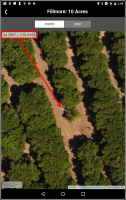
- Click on the SD card icon. The first time that you do this a dialog will be presented telling you to "Click anywhere on the QuickLook image to see the nearest full resolution image."
- A cross-hair icon on the image will mark the center of the Quick-Look image. The latitude | longitude of this location is displayed in the upper-left corner of the Quick-Look display.
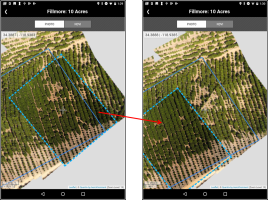
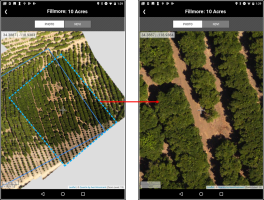
- Clicking on a different point will reload the display with the nearest full resolution image.
- Use the touch screen to pinch-and-zoom into a high resolution image, or pan to different places on the image.
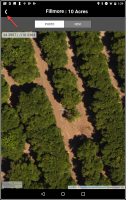
- Click the back arrow at the top-left of the display to exit the High Resolution view.
- Remove the flight SD card from the aircraft.
Push in to release the SD Card from the aircraft SD slot.
- Insert the card into your computer.
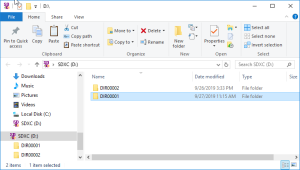
- Open a file explorer window.
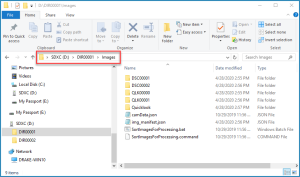
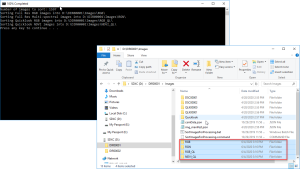
- Open the flight folder on the SD card, and then open the Images sub-folder.
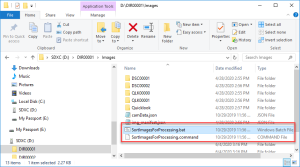
- Double-click on the Sorting application, according to your Operating System.
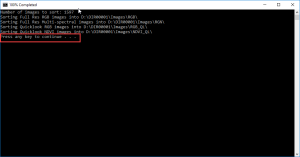
- You will see a command shell window open and run a script to sort the images into sub-folders so they can be processed by Pix4Dfields.
- When the sort is complete, you will be prompted to "Press any key to continue...". This will close the command shell window.

![[SEE QUICK LOOK] Button](../Resources/Images/GCS-SeeQuickLook_thumb_0_200.png)
